Publishing Your Free Android App on Google Play
1. What is App Store Optimization?
App Store Optimization or also known as ASO is a process that aims to position your website in search results to ensure a greater number of recognition and downloads. This way, when a user performs a particular search that relates to your app, it will immediately rank very well.
Website owners must constantly fight against the competition on Google Play. Sometimes it can be difficult for the user to find your application for the same reason, so the most feasible solution is optimization.
2. How to Publish the Application to Google Play for Free?
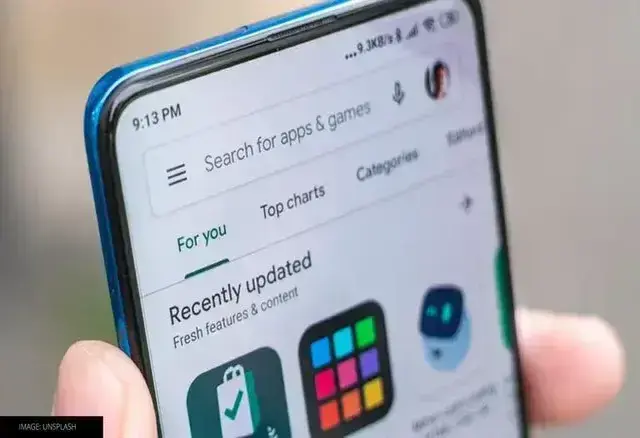
1. Create a Free Android App:
With the Appsgeyser platform you can create Android apps without any problems. You don’t need to be an expert to create a great working app. And best of all, there are no additional costs. In addition, Appsgeyser offers you a wide variety of templates for apps, websites, blogs, facebook, messaging, even book templates and much more.
2. Open a Google Play Developer Console Account
You must first create an account in the Google Play Developer Console, in order to upload your Android application to the Play Store and have access to all settings and controls without restrictions.
In addition, you must pay a one-time fee of $25 to enjoy its control features and fill out a registration. Then, wait for approval, which takes 48 hours after submitting your information.
3. Link Developer Account to Google Wallet Merchant Account
The next step to follow is to create a merchant account if your application includes this shopping section. In order to create it, you just need to access your Google Play Developer Console account, choose the “reports” option and select “financial reports”.
Then, just choose the option “set up a merchant account now” and fill in your data. After its creation, the merchant account will be linked to your Google Play Console account. You will then be able to monitor app sales.
4.Prepare your Android Application Listing
The publication of your first application must be innovative, so you must make sure it has a name, a description of the application, a brief description, screenshots explaining its operation in a clear and concise way, the categories where the application is classified and a secured privacy policy.
You don’t need to worry about the privacy policy as AppsGeyser provides such policies for each application. You should take into account that including the keywords in the description and the name of the application is essential for users to find your application more easily in the list of options. Another point to consider is that the screenshots must be of the best quality.
After finishing with the name and screenshots procedure, there is one more step: choosing the category according to your app. The most popular categories on Google Play are: games, education or business. And don’t forget to choose the age rating.
5. Upload your APK files to the Developer Console
You have already named your application so everything is almost finished. First make sure that your application complies with Google Play rules. If you did that and it’s correct, now it’s time to upload your app to the Google Play store. So you need to upload the APK file of the app to Google Play Developers Console.
6. Rate your Google Play Application
The next step is one of the most important: you must rate your application, otherwise it may be removed from the store. To perform the rating procedure go to the menu and select the “content rating” option. Then select “continue” and enter your email address. Then, click on the “confirm” button. Then complete the questionnaire to finish the rating. Once completed, select the “save questionnaire” option and then select “rate questionnaire” so that the rating can be determined. Finally, click on “apply” to finish the process.
7. Make sure your Android Application’s Pricing and Distribution Settings are set up correctly.
The next step is to specify the countries where the app will be available, as Google does not support publishing worldwide. Determine whether your app will be free or paid, you should note that if you select the free option you will not be able to change it once the app is released. But if it is a paid application then you can change the price at any time you wish.
In order to do this configuration, go to the Pricing and Distribution tab in the menu. Then select whether your app will be free or paid and finally choose the countries where it will be available for download.
If your app is designed for children under 13 years old, you must choose the “Yes” option to activate the main detection option for children. Otherwise, if it is not, choose “No”. You can also choose whether or not to allow ads to be visible in your app.
8. Launch your Application to the World
Review your app before announcing it to the world to make sure it is bug free. And then Google will analyze it, it can take up to 7 days to review and publish your app on Google Play Store.
On the AppsGeyser website you can learn more about publishing Android apps on Google Play
3. FAQS
1.Where can I publish my application for free?
In Amazon App Store you will have no problem to publish your application since there are no additional costs.
2.What should I do to upload an app to Google Play for free?
First you must create a Google Play developer account. It has a cost of 25$. Then you can upload apps for free.
3.How to publish a free Android app on Google Play Store?
- Create and configure the Google Play developer account
- Wait for approval
- Prepare the listing, with the name, description, screenshots, categories, privacy policy, among others.
- Upload the APK to the developer account.
- Choose the app rating
- Launch the application.

